Installation
Installation can be broken down into 2 distinct phases:
- Phase I - Enabling Windows to Run Linux (which can be performed in two ways)
- Phase II - Installation of the Linux Software
Phase I - Enabling Windows to Run Linux
Below you will find 2 step-by-step processes to enable windows to run linux. Enabling windows to run Linux can be done via the command line through powershell, or via the GUI (Graphical User Interface). You only need to perform one of these enabling methods.
Through the GUI
Step-by-step process to enable Windows to Run linux via point and clicking. If you perform this method of enabling, you do not need to do the Command Line method.
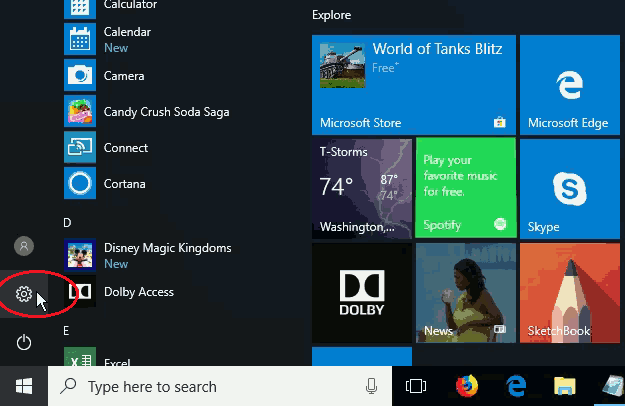
- You must first prepare or enable windows to run the Linux environment. This is accomplished by first going to the settings options on your computer.
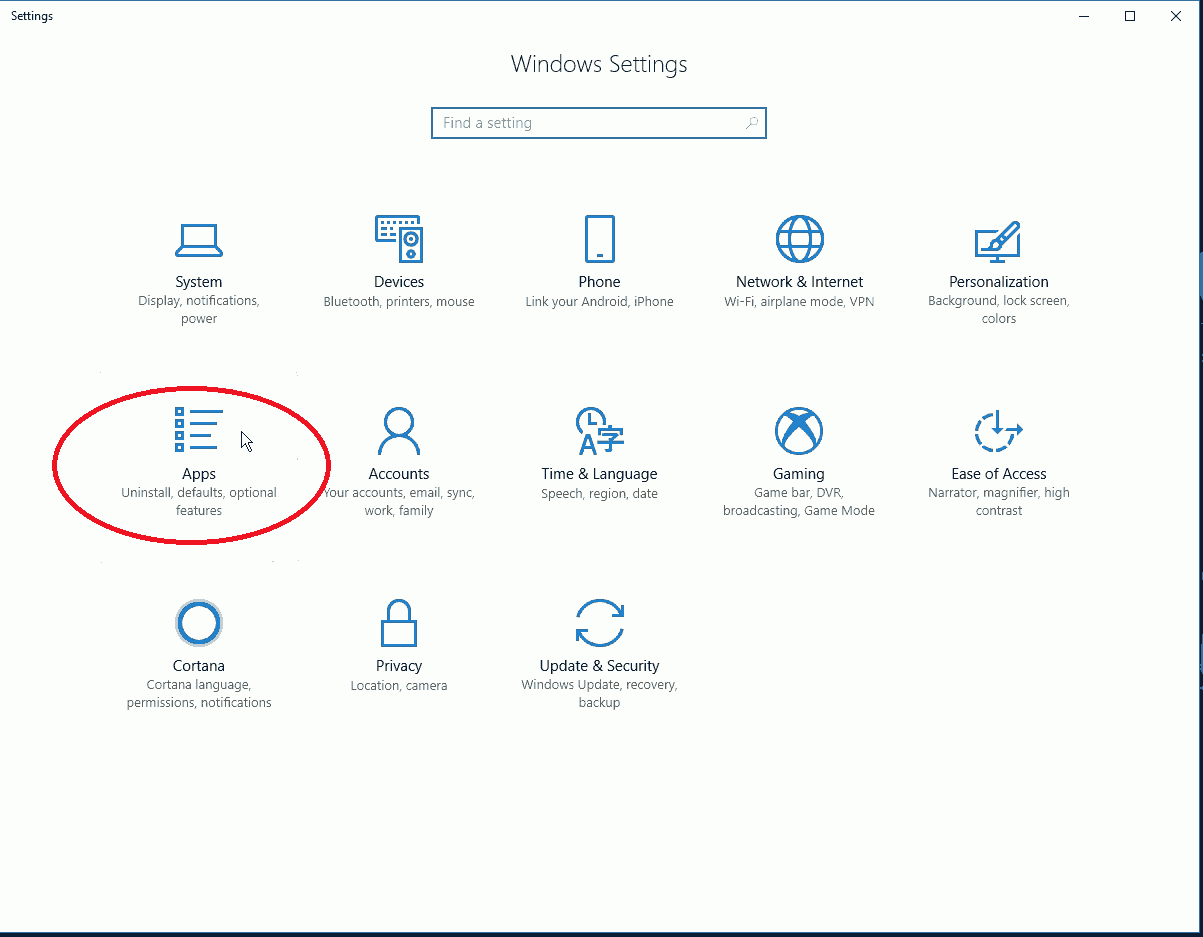
- Under the Windows Settings, choose the Apps option.
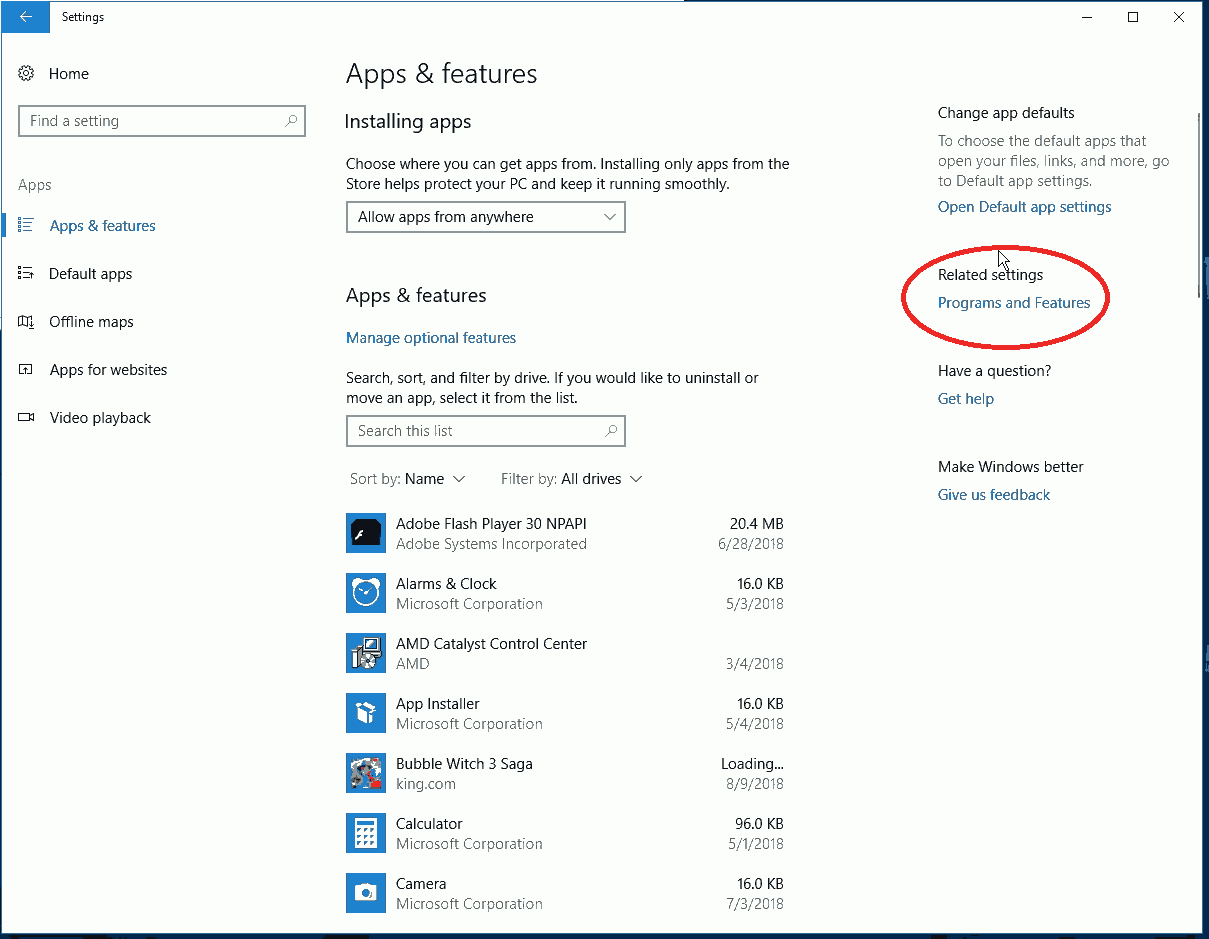
- Under the Apps & Features section, choose the Programs and Features item option near the right of the screen.
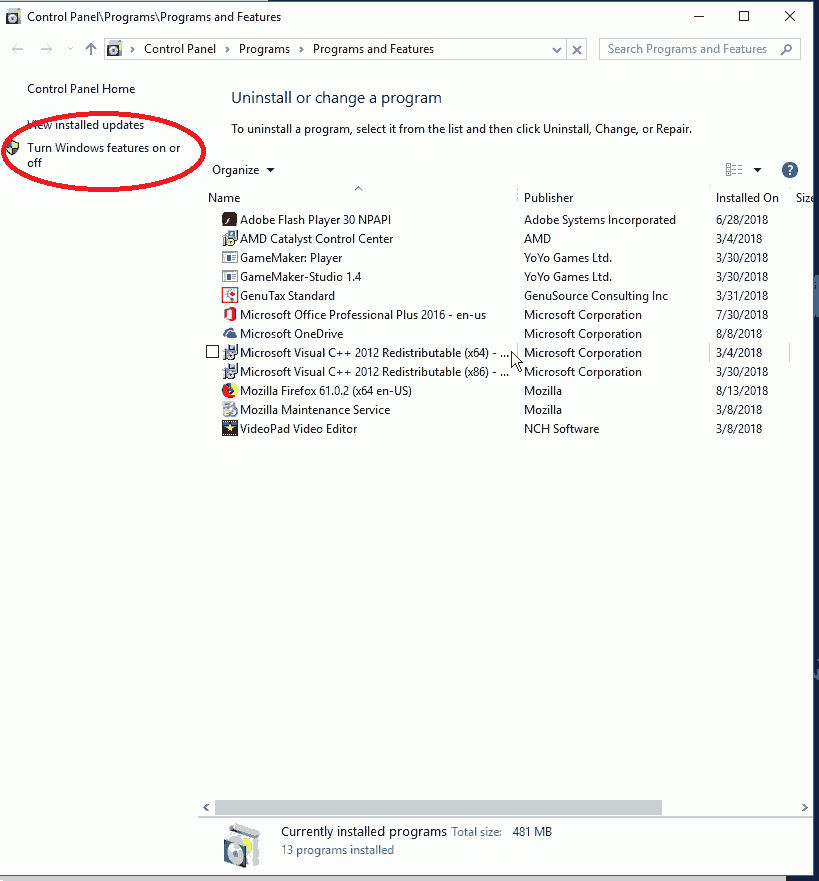
- You should see the area where you can Uninstall or Change a Program. Near the left, you should see a heading called Turn Windows features on or off. Click on this.
- Addendum: Microsoft has encorporated a full kernel for Linux called WSL 2. You have a choice for installing WSL 1 or WSL2.
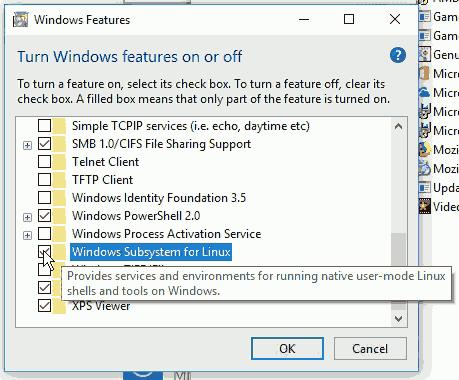
A list will appear with different features for Windows which can be turned on or off. Scroll down the alphabeticalized list to the option called Windows Subsystem for Linux to install WSL 1. Place an "check mark" next to this option.
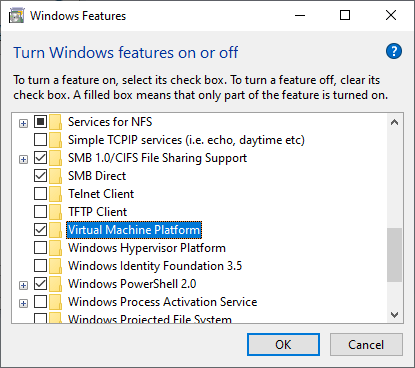
 To install WSL 2, choose Virtual Machine Platform. Place an "check mark" next to this option.
 - Once selected, press the OK button.
- A popup windows will appear stating "Searching for required files".

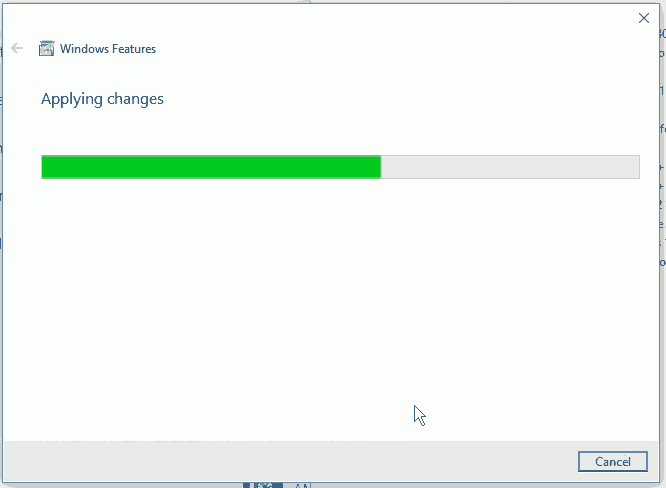
- Once it finds the files, it will change to "Applying changes".
- Once the changes are applied, the popup will change to "Windows completed the requested changes. Windows needs to reboot your PC to finish installing the requested changes."
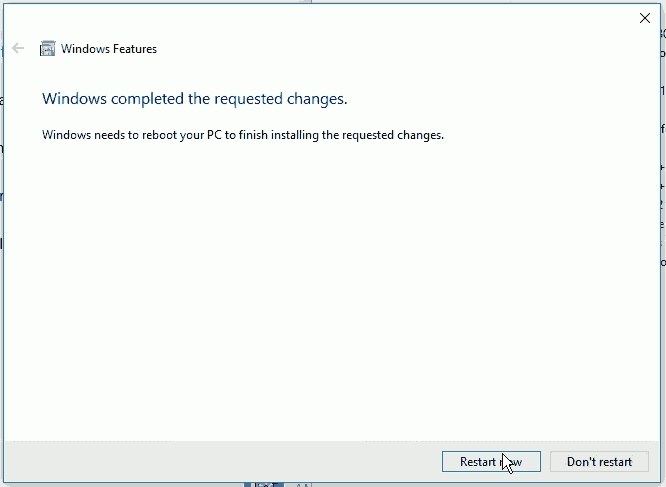
- You have the option to "Restart Now" or "Don't Restart". Click on the Restart Now button.
- Your system will restart. During the shutting down process, you will see the screen "Working on Updates", with a percentage of completion. Allow this to complete.

- During the startup process, you will see a screen stating "Working on Feature" with a percentage of completion. Allow this to complete.

- You are done! You can proceed to Phase II - Installation of the Linux Software
Command Line Method
Since linux is a command line tool, it may make sense to dive right in and setup Linux for Windows using only the command line. Here is a step-by-step guide to enable Linux for Windows from the command line. (Note: if you performed the GUI Method to enable, you do not need to perform the Command Line Method)
- Run the Powershell as administrator. This is accomplished by searching your PC for "powershell", then right-click on the "Windows Powershell" results, and "Run as administrator". A pop-up will appear stating "Do you what this app to make changes to your device?". Click the Yes box.
- A blue box will appear stating "Windows PowerShell Copyright (C) Microsoft Corporation. All rights reserved. PS C:\WINDOWS\system32>
- Addendum: Microsoft has introduces a full kernel version of WSL, called WSL 2. This version is much quicker that WSL 1. Included below are the instructions to install the WSL 1 and WSL 2 versions.
For WSL 1, at the prompt, type in the following:
Enable-WindowsOptionalFeature -Online -FeatureName Microsoft-Windows-Subsystem-Linux
For WSL 2, at the prompt, type in the following:
Enable-WindowsOptionalFeature -Online -FeatureName VirtualMachinePlatform
- Once the command completes successfully, type in "exit" and hit enter.
- It will prompt you to restart your computer.
- Done. You are ready to install a distribution of Linux
Phase II - Installation of the Linux Software
Once you have completed Phase I (enabling windows to run linux), you can now proceed with Phase II, the installation of Linux. Microsoft made this process easy by placing linux into the Microsoft Store.
- Go to the Microsoft Store.
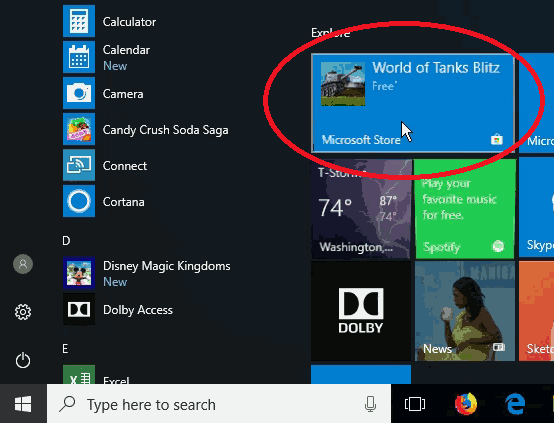
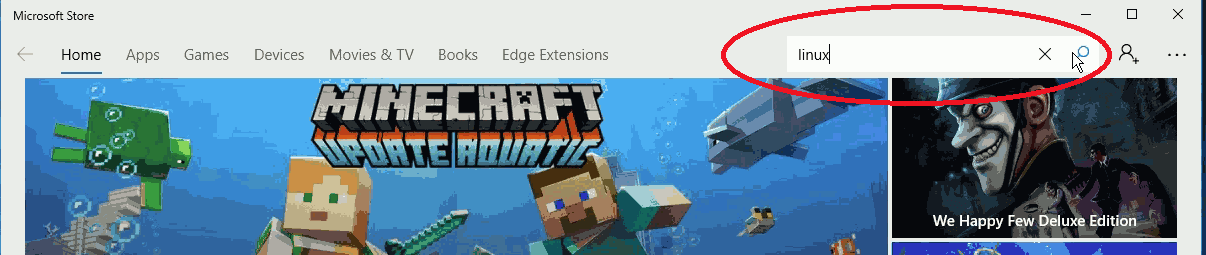
- In the Search Box in the top right of the screen, type in "linux", then press "Enter".
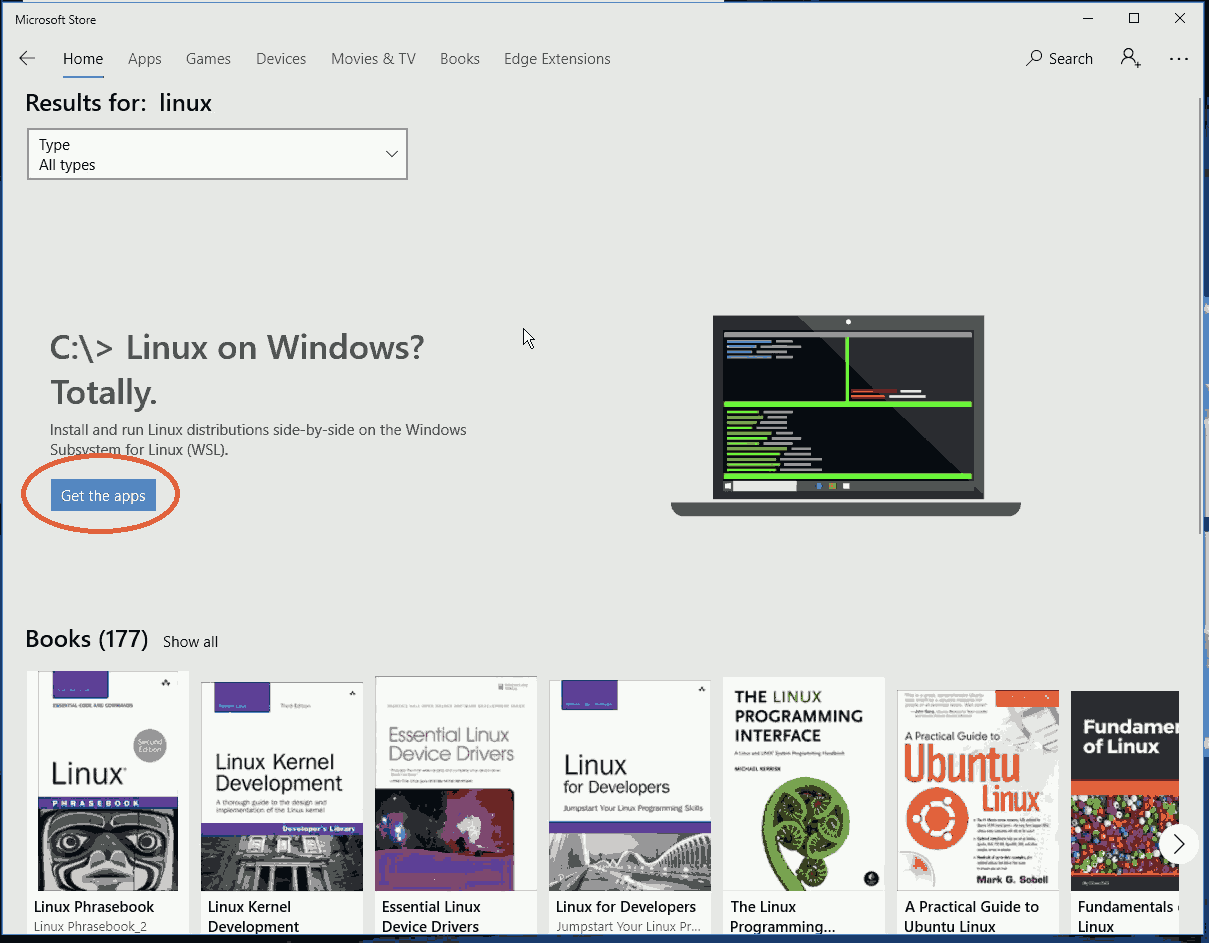
- You may see a box stating "Linux on Windows? Totally. Click on Get the Apps.
- You will see a box stating Run Linux on Windows. Install and run Linux distributions side-by-side on the Windows Subsystem for Linux (WSL). Now you have a choice. Which distribution to install. All free. The current options are Ubuntu, openSUSE Leap, SUSE Linux Enterprise Server, Debian / GNU Linux, or Kali Linux.
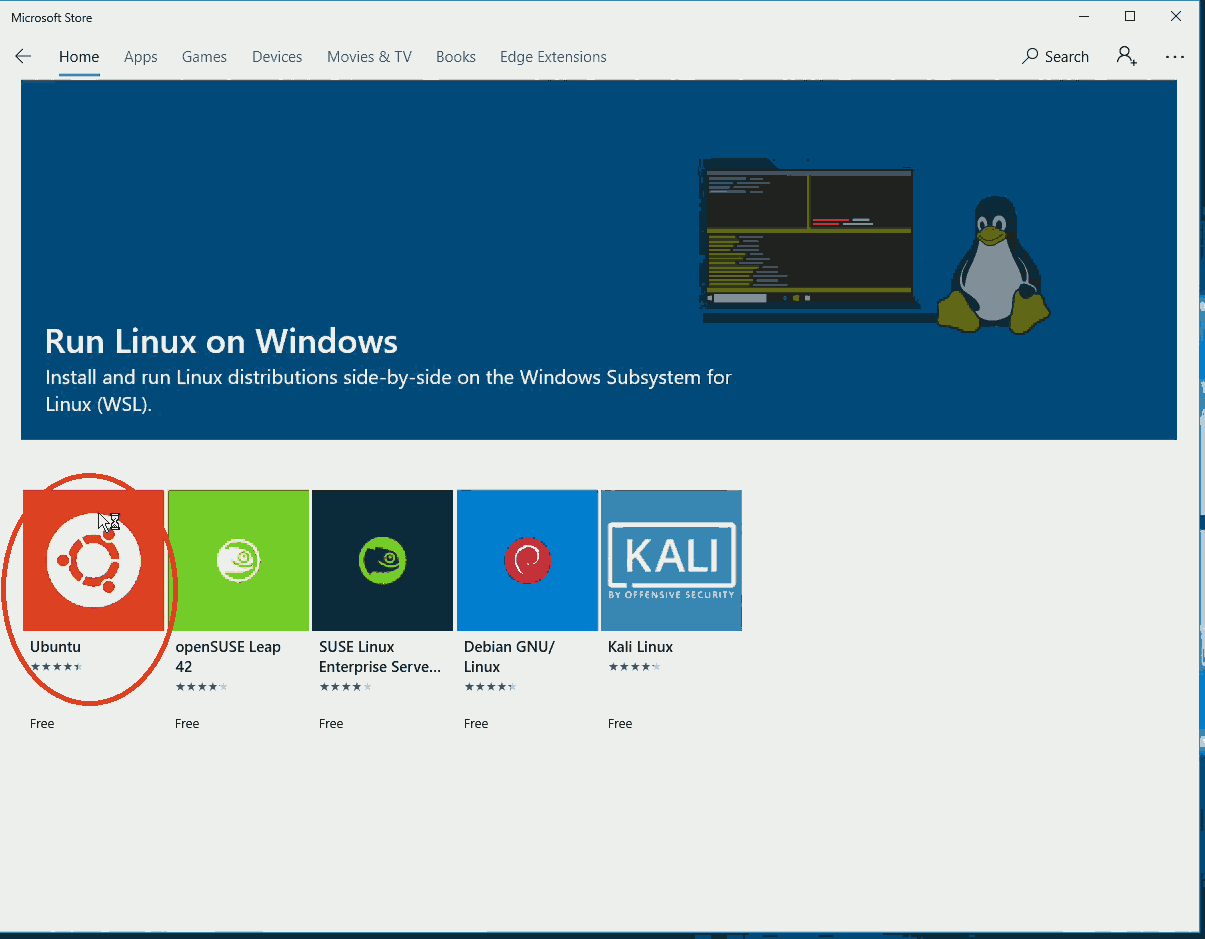
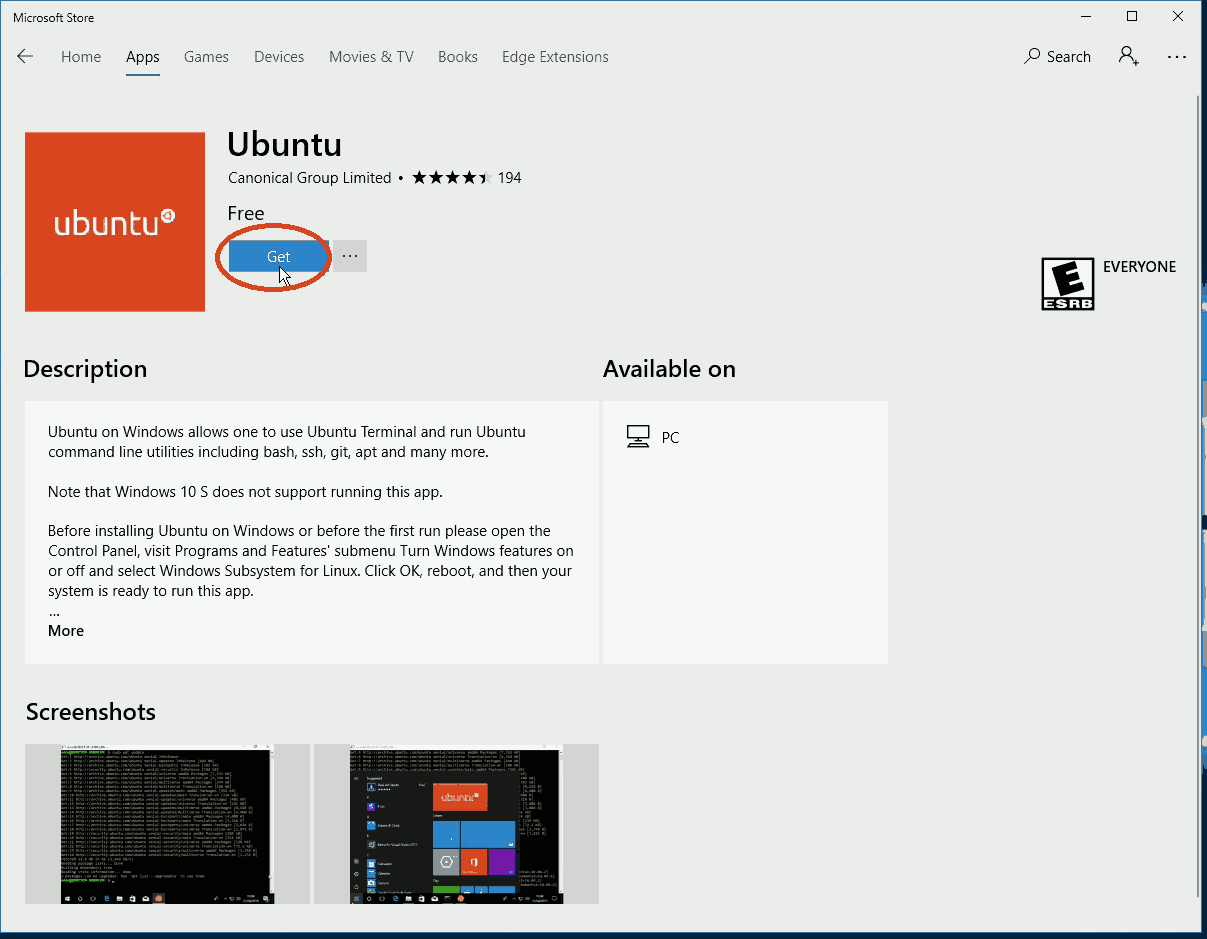
- Click on your flavor of Linux. In our case, we have chosen Ubuntu.
- A popup will appear with more information about the Linux you have chosen. Click on the Get button.
- It may ask you to log in with your Microsoft credentials. If you do not have a Microsoft userid or password, just continue as though you do, then cancel.
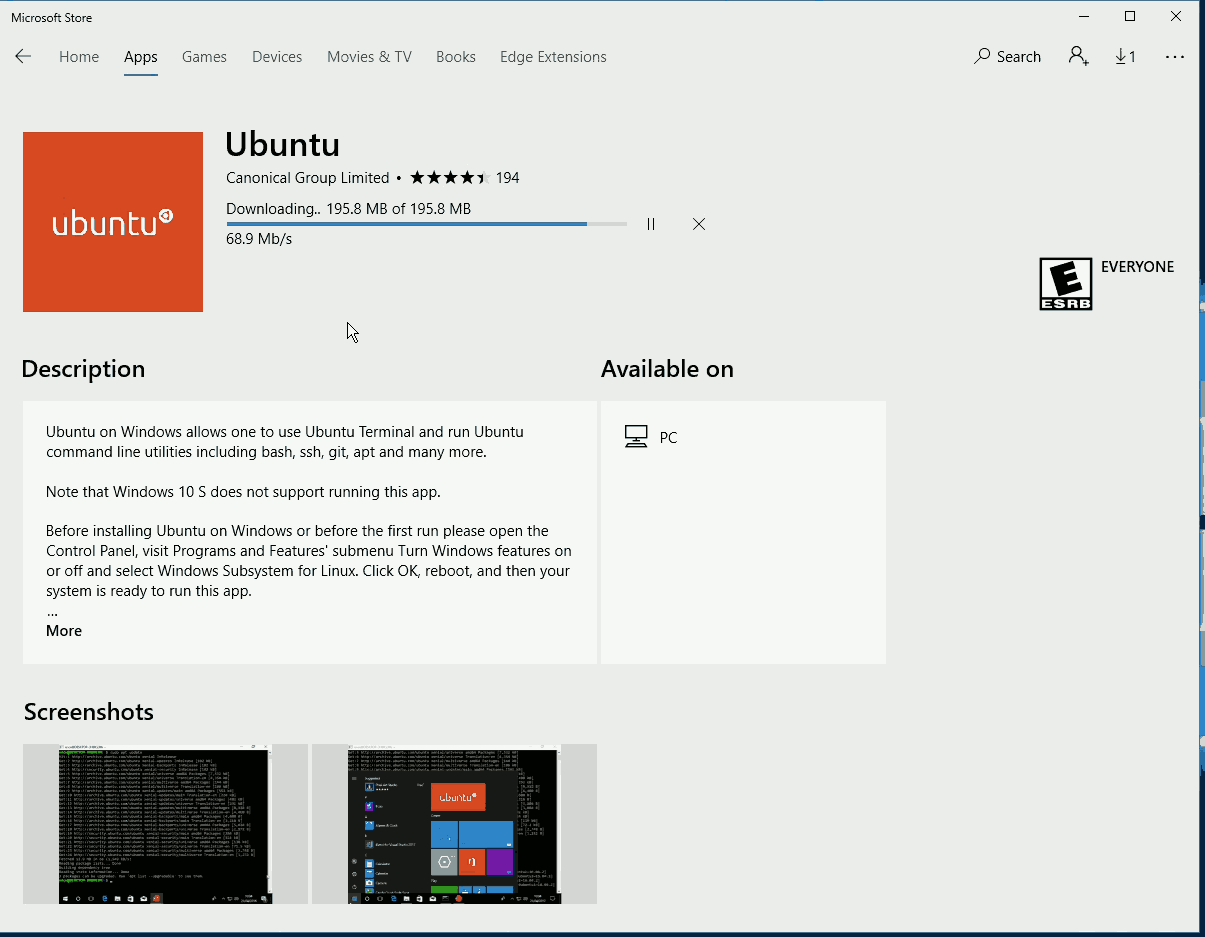
- The Linux distribution will download and install.
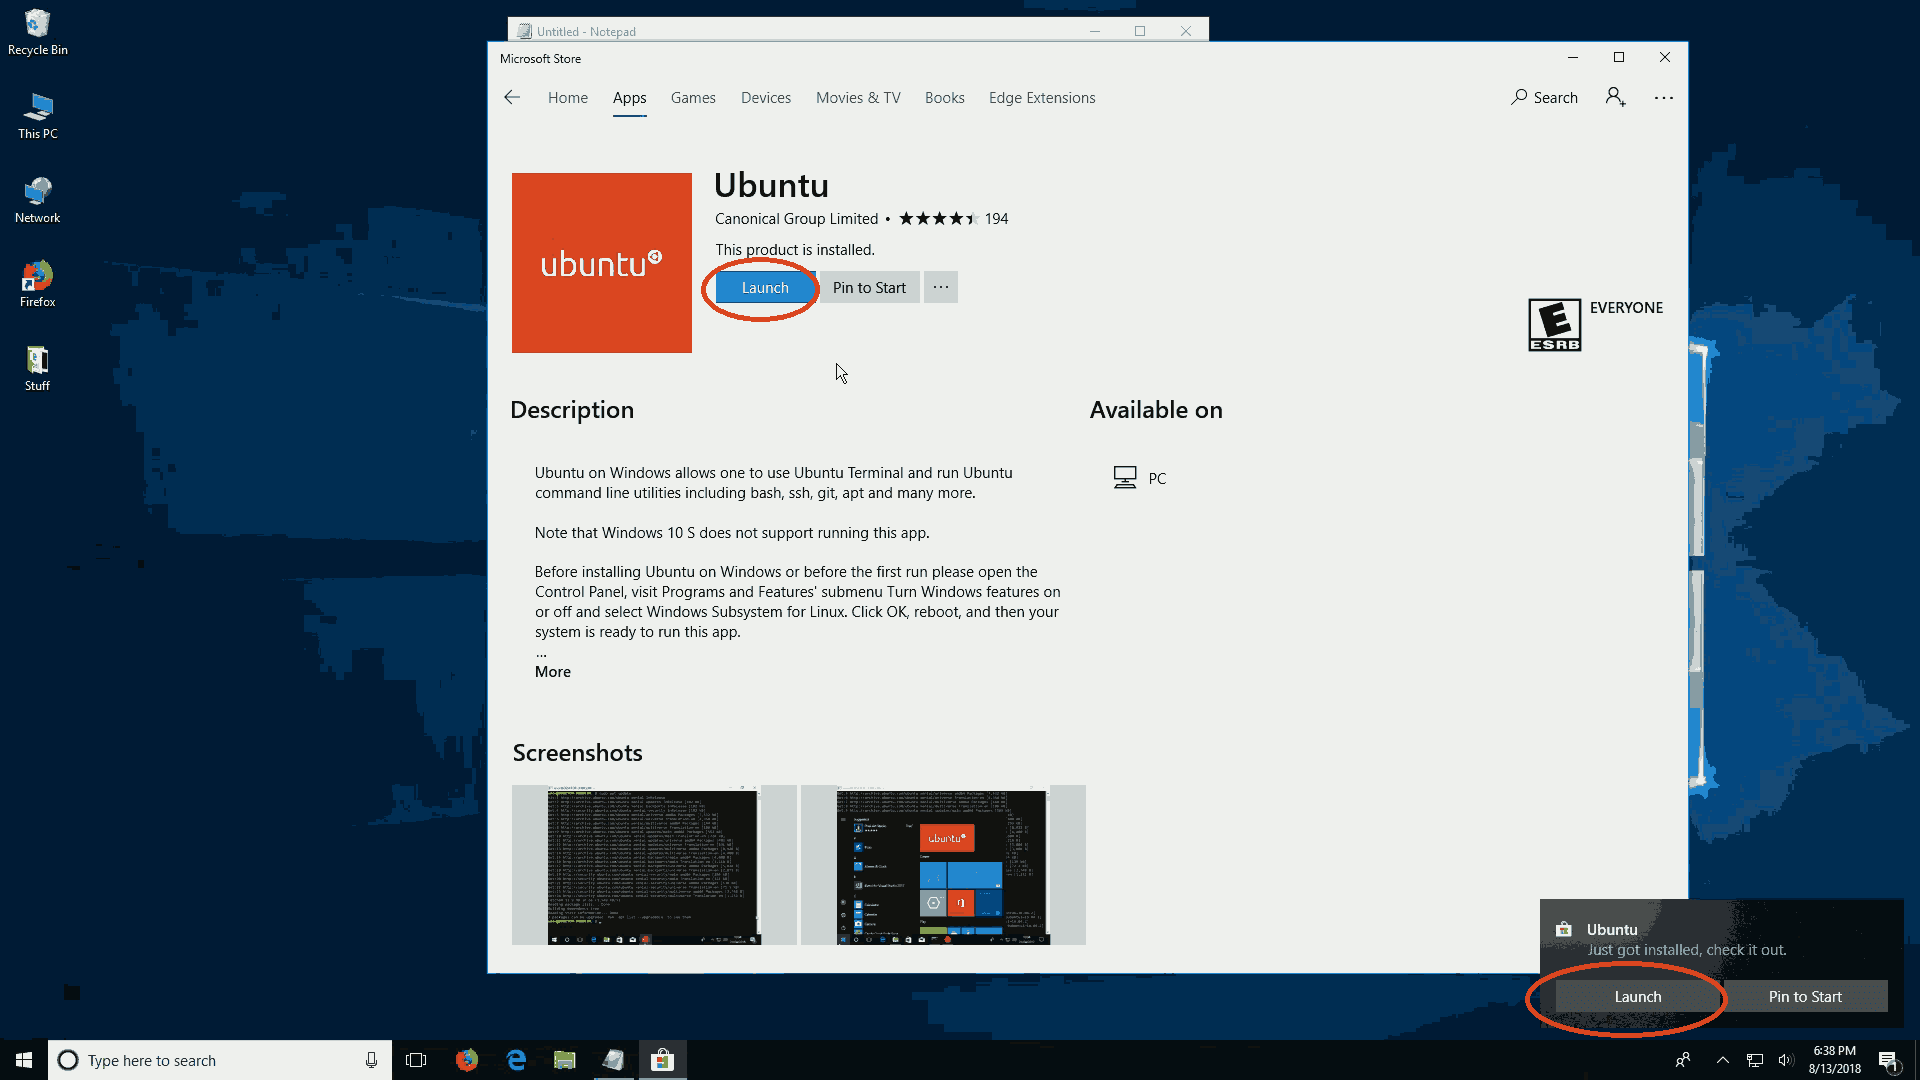
- Once installed, it will prompt you to "Launch" or "Pin to Start". Choose Launch
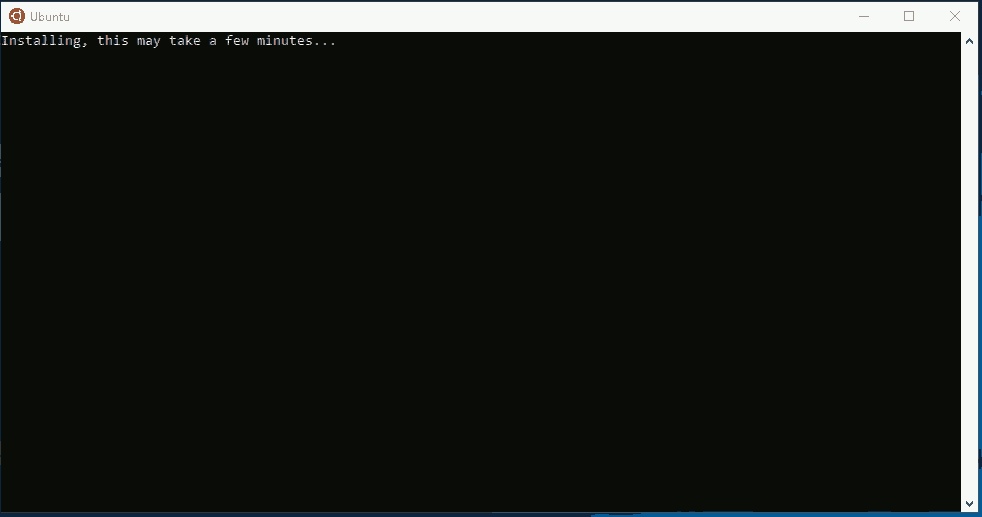
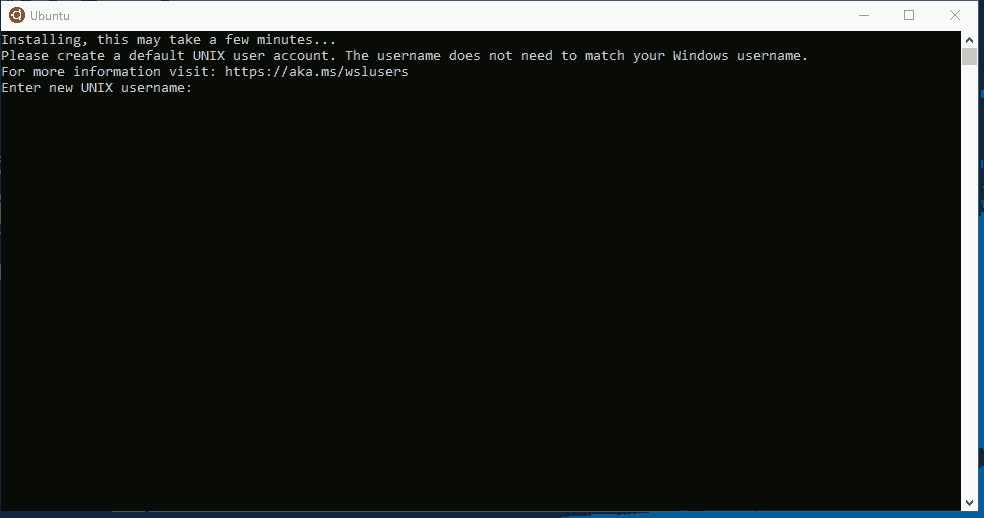
- A black box will appear stating "Installing, this will take a few minutes..."
- After a few minutes it will state: "Please create a default UNIX user account. This username does not need to match your Windows username. For more information visit: https://aka.ms/wslusers Enter new UNIX username:"
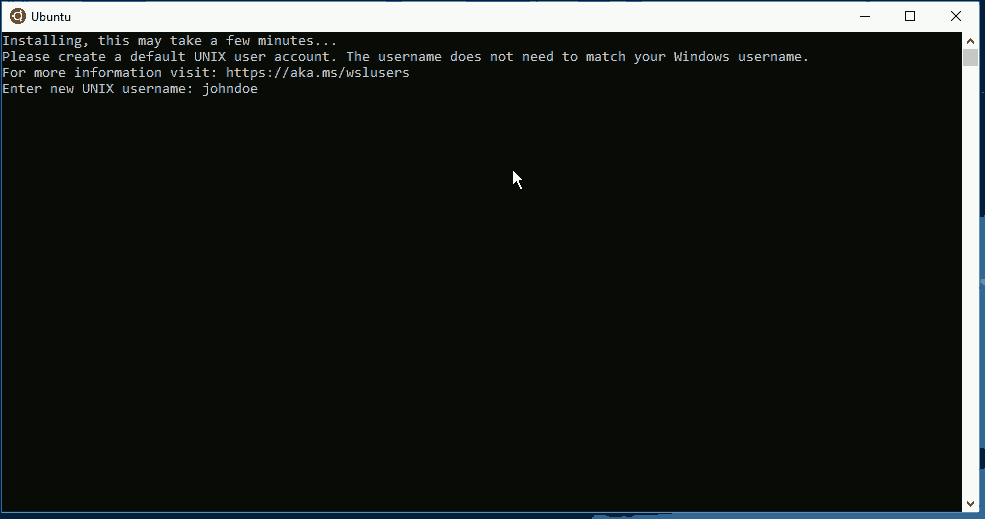
- Enter a username. In our case, we entered "johndoe". Hit "Enter".
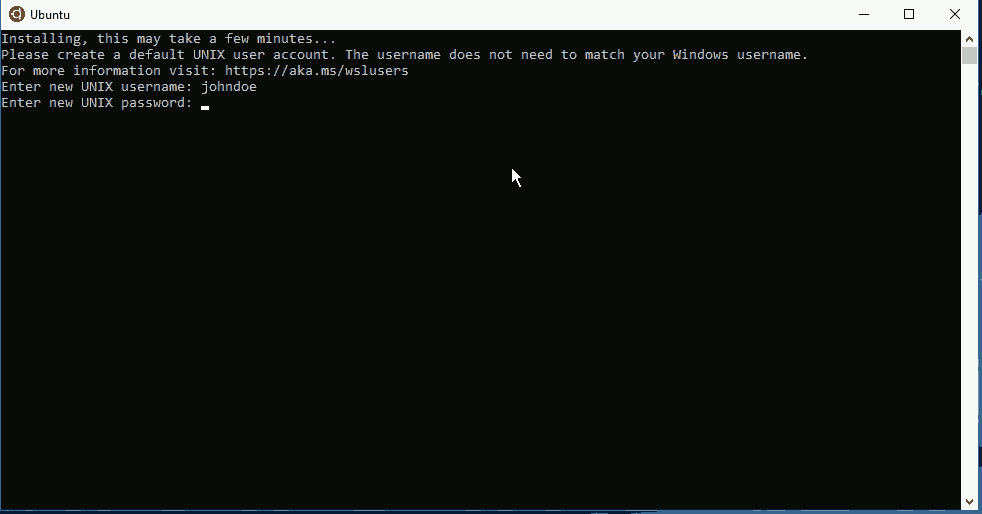
- It will then state "Enter new UNIX password:". Enter in a new password, then hit enter. Note: The password you type will not appear on the screen.
- It will then prompt "Retype new UNIX password:". Re-enter the password you typed in on the previous step. Once again, the password will not appear on the screen. If the passwords match and are valid, it will state "passwd: password updated successfully". If it didn't like your password, it will give you a reason, and allow you to type in a new password again.

- Once your password is successfully changed, it will state "Installation successful! To run a command as administrator (user "root"), use "sudo command". See "man sudo_root" for details." It will then show your userid@hostname. In our case "johndoe@AcerUpstairs:~$"
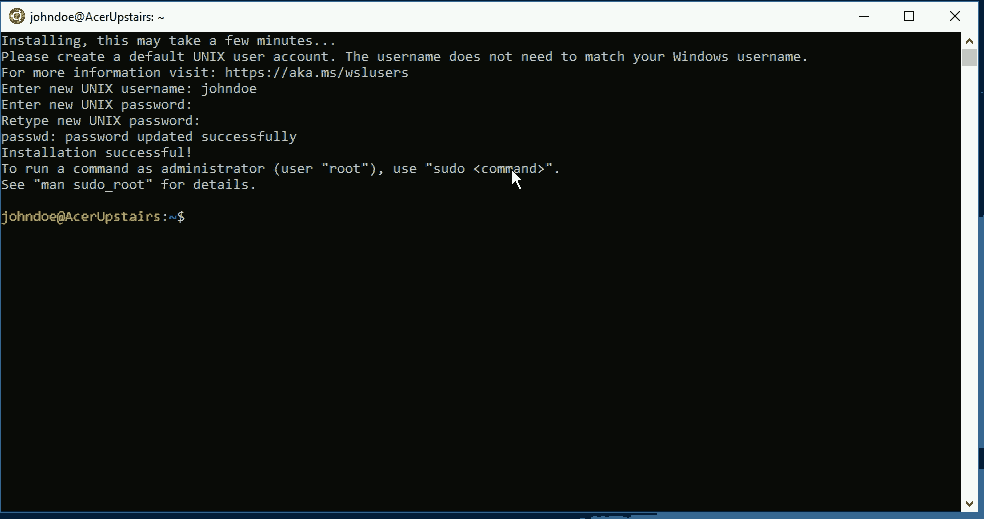
- You are Done!
Installation Complete, Now what?
You have successfully installed Linux for Windows. If you are completely new to Linux, here is where the fun begins. You have a working version of Linux running on your Windows system. If you are finished for the day, just type in "exit" followed by enter, and the black box will close, thereby closing your linux instance.